 |
 |
 |
 |
 |
 |
 |
 |
 |
 |
|
| The following Japanese famous hobby stores are written in English and can
ship to oversea! |
 |
|
  |
|
 |
|
 |
|
|
|
| Remodel of FUJIMI 1/24 scale Enthusiast model Series Lamborghini Countach LP400 |
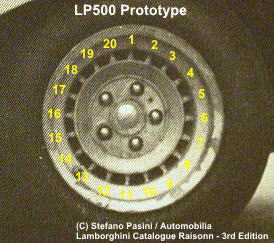
| How to build Lamborghini Countach LP500 Prototype |
|
 Step 6: Remodeling the Wheels and Accessories Step 6: Remodeling the Wheels and Accessories
Although the wheels of LP500 and LP400 seemingly looks same design, both
have some differences points.
The number of tiny spokes
- LP500 Prototype: 20
- LP400: 15
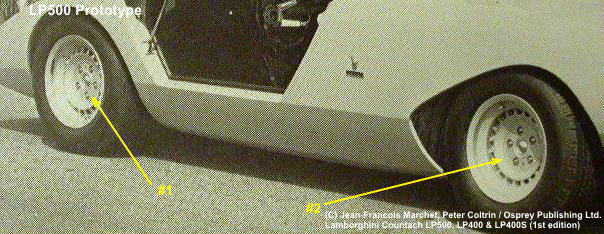
The position of center disk pieces
LP500 Prototype: The center disks of front and rear are different positions.
- Front center disk: It is stuck outward. (image #1)
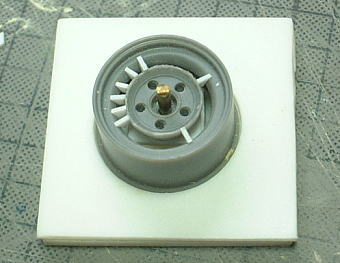
- Rear center disk: It is recess inward. (image #2)
LP400: The center disks of front and rear are same positions. Those are almost the same as the rear wheel of LP500 prototype.
 Remodeling the Wheels Remodeling the Wheels
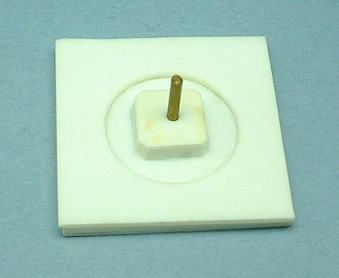
First of all, I made the stand to fix the wheel.
This stand keeps the accurate center position of wheel while remodeling it. And the position of center disk can be adjusted by the change in raised bottom of metal shaft.
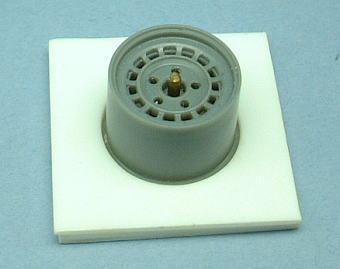
I severed the center disk from the wheel. I adjusted the center disk at
a correct position, and put 20 tiny spokes on the wheel.

I have adjusted the angle of tiny spokes in detail, and puttied chinks
in them.
This image is the front wheel.

This image is the rear wheel.
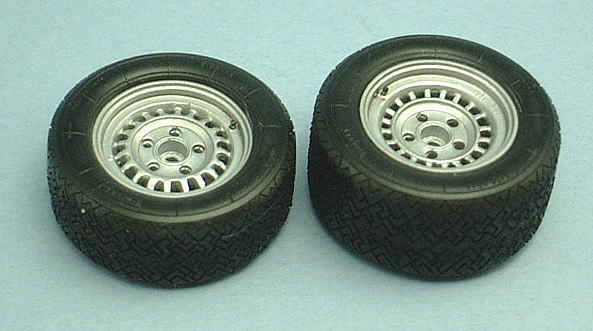
Painted the wheels.
The air valve of wheel was replicated with 0.5mm metal line. This replication
point with 1/24 scale was the first trial for me. Next, I shaved off the
parting line of tire by sandpaper, and gave luster to them by waxing.
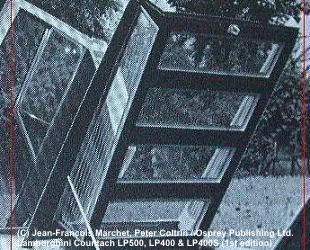
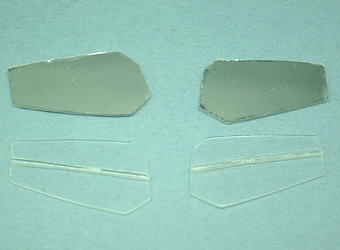
Engine Bonnet
The vents of engine bonnet for LP500 prototype are covered with clear panels.
And those panels are drawn a line pattern.
I scratch built those clear panels.
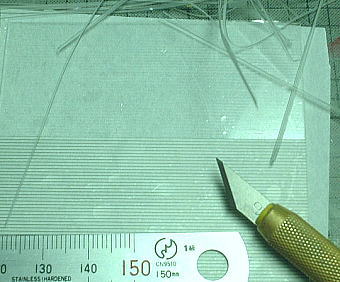
I put a screen torn of line pattern on a clear plastic sheet. And I carved
perfect line pattern by tracing on the screen torn with art knife.
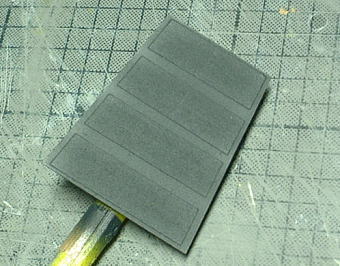
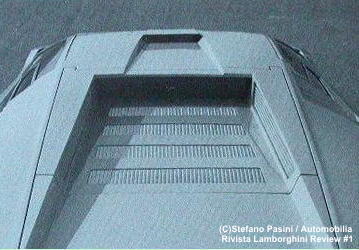
I cut this sheet to fit the engine bonnet, and masked the clear area with
masking tape, and sprayed the frame area in it German gray.

The clear panels that covered vents area were finished. (left and right
clear panels are for side vents)
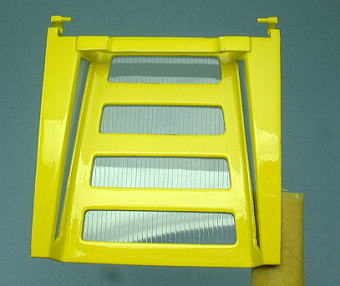
I planed the back of engine bonnet as thinly as possible, and glued the clear panels on it
Door frames and Inner parts
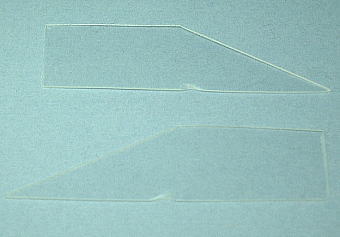
I cut the door windows from clear plastic sheet.
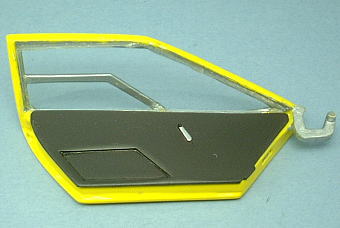
I scratch built the door inner panels.
I glued the door windows and door inner panels on inside of doors.
Headlights and Taillights
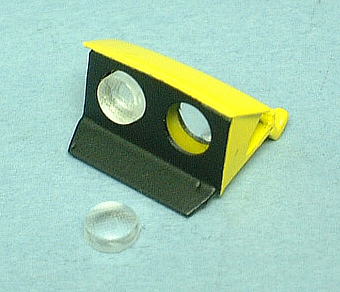
Twin lenses part of headlight is in a body. And it is attached to back of the frame of the headlight unit.
But this part was not able to be installed from the back of frame because
the depth of headlight unit was shortened.
Then I separated both lenses, and installed them from the front of frame.
I scratch built the taillight reflectors and lenses.
The Muffler (silencer)
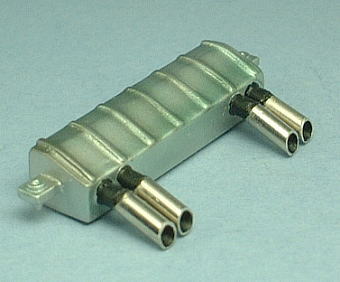
The shape of muffler for LP500 is different from mass production model's
one. I replicated this shape.
Then the tubes were exchanged for chrome plating metal tubes.
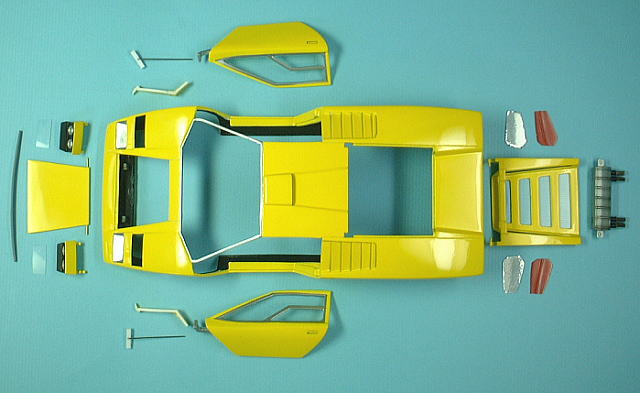
Remodeling of all body parts were finished. Remaining work is only assembling
of them.
|
|