 |
 |
 |
 |
 |
 |
 |
 |
 |
 |
|
| The following Japanese famous hobby stores are written in English and can
ship to oversea! |
 |
|
  |
|
 |
|
 |
|
|
|
| Remodel of FUJIMI 1/24 scale Enthusiast model Series Lamborghini Countach LP400 |
| How to build Lamborghini Countach LP500 Prototype |
|
 Step 3: Bonnet Room and Dashboard Step 3: Bonnet Room and Dashboard
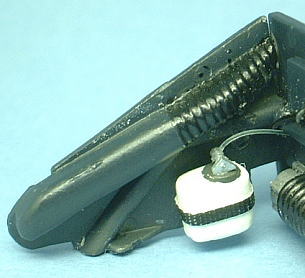
 Air horns Air horns
As for the air horn part of Fujimi kit, the rear part of horn is omitted.
In the case of LP500 Prototype, the horn's position is near the front nose.
Such reason I scratch build air horns because the omitted part of horn
is conspicuous.
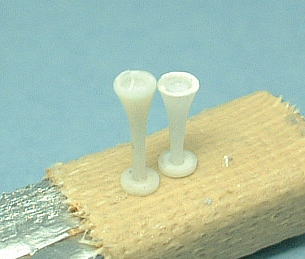
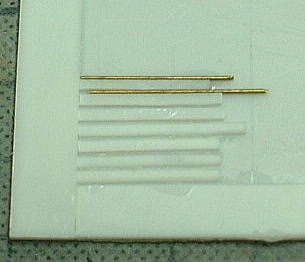
I made a horn from roasting and lengthening a runner. I referred to the
catalog of FIAMM horns and made the detailed mold.
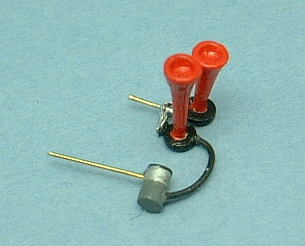
The air horns were completed. The columnar part is air compressor.
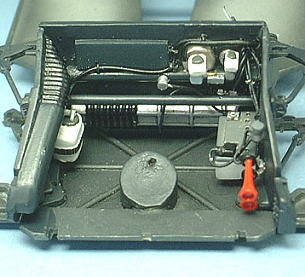
Wiring and Plumbing
 Battery disposition of prototype car seems to be the side and air horns
disposition is near the front nose. This layout can be checked from the
existing photos or drawing of prototype car. I attached those equipment
parts and wired them.
Battery disposition of prototype car seems to be the side and air horns
disposition is near the front nose. This layout can be checked from the
existing photos or drawing of prototype car. I attached those equipment
parts and wired them.
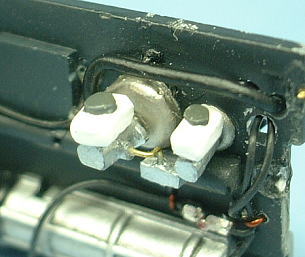 Reservoir tanks for brake and clutch fluid are special type. I scratch build those parts. Reservoir tanks for brake and clutch fluid are special type. I scratch build those parts.
This is right side. I shaved off the air duct fan's mold unavoidably because
it interferes with the attachment to the converted body. Although windshield
washer tank was unknown in whether it is attached to prototype car, I attached
it.
Remodel of Spare Tire
The spare tire of prototype car is loaded aslant like a slider. Thereupon,
I attached the slanting raised bottom pedestal on bonnet room's bottom.
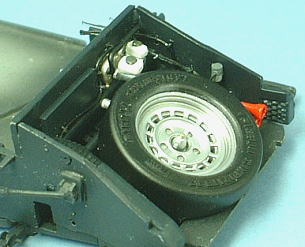
I loaded spare tire into the bonnet room.
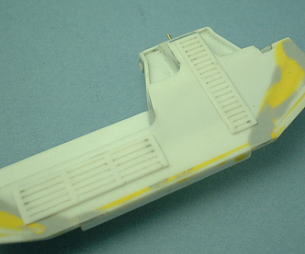
Dashboard
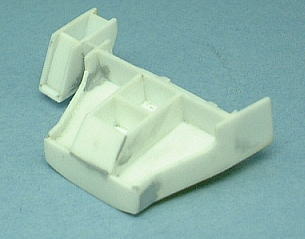
I build the meters box with plastic board. The ceiling is not attached
to this part yet because it is the same face as passenger's panel.
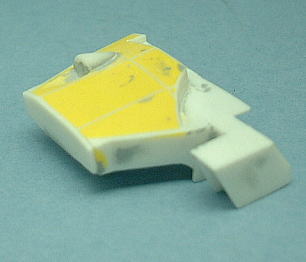
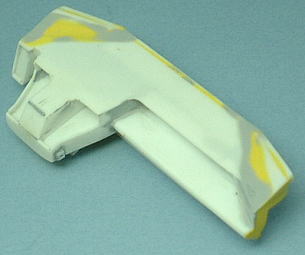
I modeled bottom area of meters box by putting a polyester putty.
I dipped up a part of the bottom area with graver, and modeled the starting
key cylinder with a plastic beam. The form is just like a gatling cannon
cover of modern fighter.
I build the dashboard.
Next, I assembled each parts., and modeled the triangles on both sides
of dashboard in the correct form.
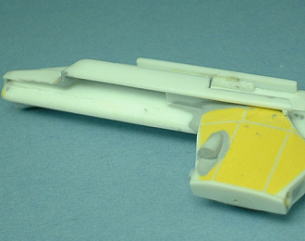
I turned this part over, and assembled the glove box at the bottom. I put the bottom board of the glove box.
I checked the assembly accuracy of the dashboard.
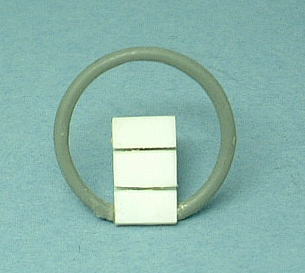
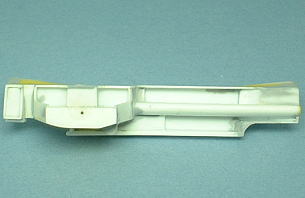
Modeling the Conditioner Air Outlets
The ceiling of a dashboard has many air slits.Those may be conditioner
air outlets.
I equally spaced the plastic papers that were cut into rectangular slices
by inserting 0.5mm metal lines.
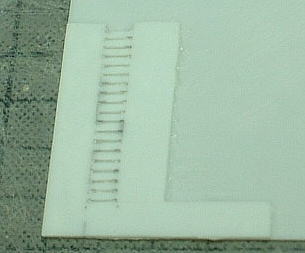
I cut right edges of plastic papers and arranged those length, and put
the plastic paper on the cut edges. Furthermore, I shaved the surface and
the wrong side with a sandpaper to make a duct thin.
I cut the ducts to necessary size, and attached them to dashboard.
Special Steering
As for a steering, the design of a center pad is different from a mass-production
countach. I modeled it with a plastic board. Although glance it looks like
a simple design, the section is very complicated.
Modeling is finished
LP500 prototype's the dashboard is a very advanced and future design. I
think that it is suitable to countach. It is regrettable a little that
The design was hardly adopted to mass-production countach.

|
|