| Welcome to J-Model Works! (Japanese Title, Mokei no Hanamichi) My Models, Step by Step, Tips, Information, and so on! |
|
| HOME>>Model Gallery>>Fujimi 1/24 Lamborghini Countach LP400>>This page
|
|
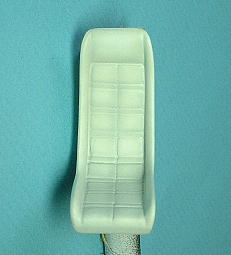
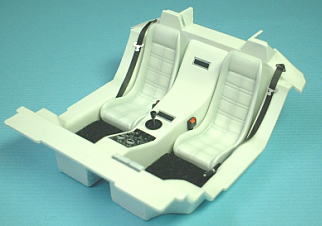
I was instructed the color of interior from my client. Sheet is white, Dashboard is black. I made the paint foundation by spraying "Surface Primer" and "Base White" color on the parts. I mixed Fresh with White a little and put out gloss 3/4 to express the quality of the skin. The Sheets were painted by this color, and the floor color was dark gray. The stitch of sheet and corner of floor were sprayed smoke and clear yellow very thinly.
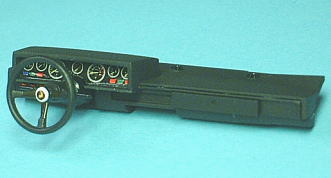
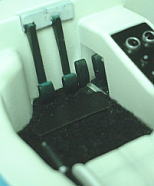
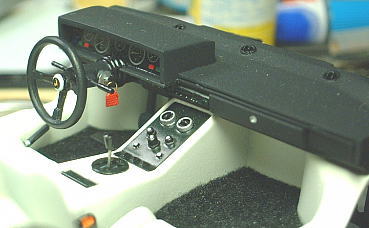
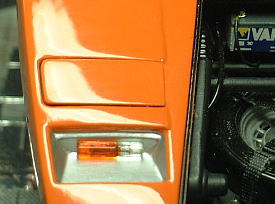
I attached the ignition key cylinder by remodeling the handle column, Column levers is remade with metal line and Vinyl tube. The color of the dashboard is the one that a little blue, gray and flat-base were mixed with black. I sprayed this color from a distance. Then it became the rough surface like a suede.
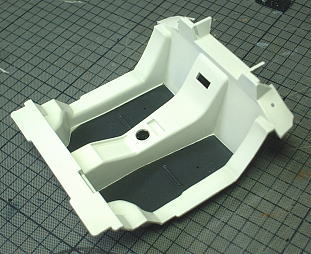
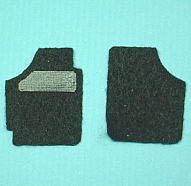
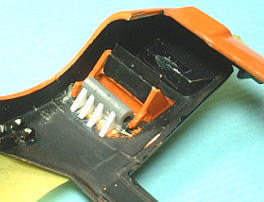
The floor carpet was made from a felt. None slip rubber was made from a inner paper of cigaret case that was painted black. Accelerator pedal hinge of real car is in a floor. I modified it because the kit was wrong. The protection metal plate of the accelerator's side is made from an aluminum tape.
I modeled the ignition key from 0.3mm plastic boards and 0.2mm brass lines. Key holder of the red skin was modeled from the material of seat belt. Although this key is over scale it is good accessories that color a car model beautifully.
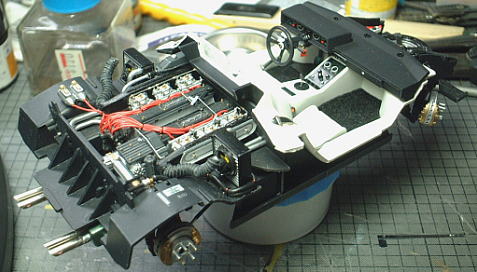
The cabin part was attached on chassis. This work finished except for the body. The next time is the modeling of the body.
I painted all this job by airbrush.
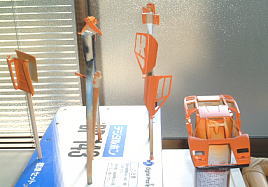
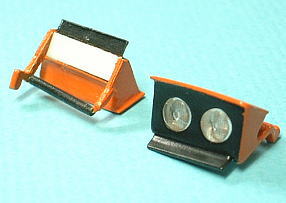
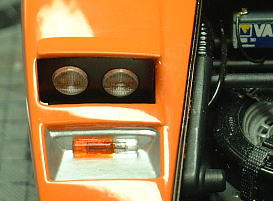
The pop up headlight unit is composed of two pieces parts. I unified them and expressed the panel line by painting. Because the big gap occurred for those parts. As for the inside of headlight units, the aluminum tape was attached in the entire surface. The shaft is covered with the vinyl tube and it had the effect of loose stopper. The Parts that attache a shaft to body were remodeled in accordance with the optimal action of pop up headlight units. I added some beams of triangle so that units do not drop out.
This is action test of pop up headlights.
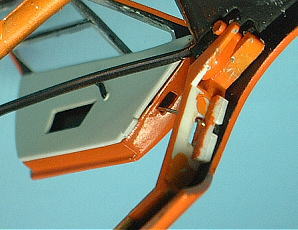
Those pictures is from the instruction of this kit. The door do not open smoothly, because the hinge of dumper(P1L,R) part is poor.
I remodeled hinge like the next picture.
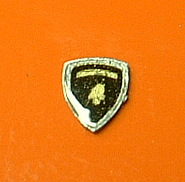
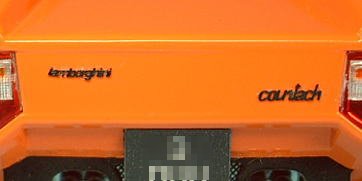
The emblem and logo mark are photoetch from YOROZUYA.INC. Especially about Fighting Bull emblem, I attached decal on photoetch, and painted gloss clear coat many layers on this top. Then, it became 3D curved surface like the real one.
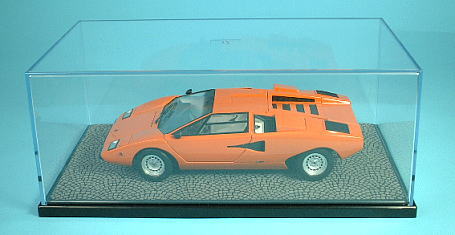
In this way the model was finished.
|
|
| Return to Top of This Page
HOME>>Model Gallery>>Fujimi 1/24 Lamborghini Countach LP400>>This page |
|
Copyright(C) Omami the webmaster of J-Model Works / Mokei no Hanamichi All right reserved |


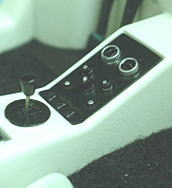
 Shifting rod was exchanged to stainless steel line, and shifting gauge was exchanged to photoetch for Countach. As for center panel, the switches were painted in detail. Seat belts were exchanged to the accessories of the third party.

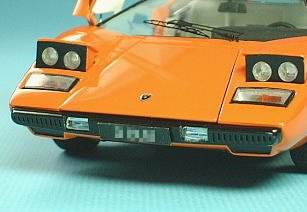 The license plate is an original type.