 |
 |
 |
 |
 |
 |
 |
 |
 |
 |
|
| The following Japanese famous hobby stores are written in English and can
ship to oversea! |
 |
|
  |
|
 |
|
 |
|
|
|
HASEGAWA 1/700 SCALE WATER LINE SERIES
| How to build IJN CV KAGA |
|
 STEP 4: Making of the hangar deck STEP 4: Making of the hangar deck
One of what that I tried with the making in this time is the reappearance
of inside structure. The main event is the making of hangar deck.
 Making of the rear elevator and hanger Making of the rear elevator and hanger
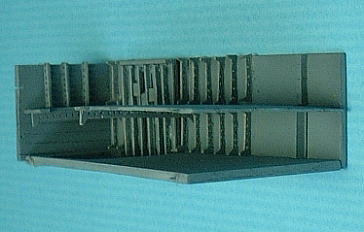
The rear hanger of KAGA is 3 steps of structure. The elevator is 2 steps
of structure.
In the case that the elevator downed to the lowest floor, the upper part elevator becomes the same height as the floor of a middle hangar.
Because the hangar where it is able to look from the flight deck is to
the middle, I made the upper part and middle part hangar.
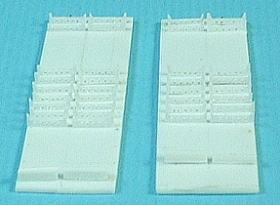
5 sheets holes for reduction of weight are opening to one side beam. It is installed 32 sheets with the right and left. As for the rail part of the elevator the spindle and wire are reproduced.
 |
|
 |
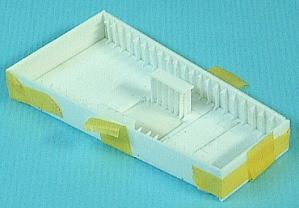
| Side wall parts |
|
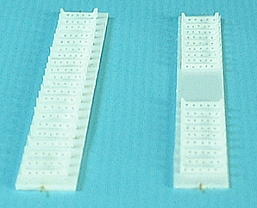
Elevator rail parts |
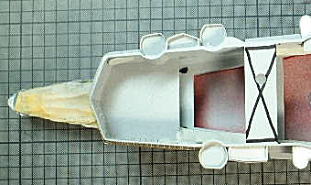
The rear elevator and hangar after coating became the under image.
 |
|
 |
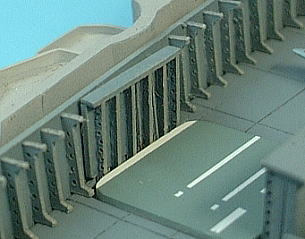
| Front view |
|
Section view |
Making of the front elevator and hanger
The front hangar is 2 steps of structure of the upper part and lower part.
Instead of that, the floor space is taken widely to every 1 floor. I made
only the upper part hangar. The way to make is the same as rear hangar
almost.
 |
|
 |
| Test setting |
|
Side wall parts |
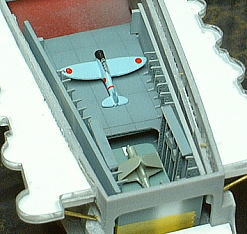
Front hangar is easy to be seen content, because elevator width is big.
For this reason, even the deep part needs to be made.
 |
|
 |
| After painting |
|
Up of the elevator and beam |
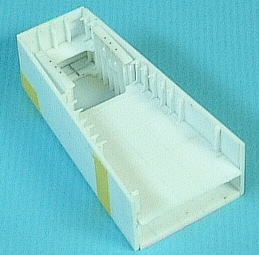
Processing of the body
When the hangar is inserted I cut the part that becomes obstructive. The
Part that under of image was marked is it.
 |
|
 |
| Front part |
|
Rear part |
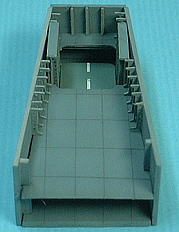
I tried the test of the hangar parts insertion. I made the biggest size
that could insert the width of the hangar, to avoid the unnaturalness with
the appearance.
 |
|
 |
| Front hanger |
|
Rear hanger |
|
|