| Welcome to J-Model Works! (Japanese Title, Mokei no Hanamichi) My Models, Step by Step, Tips, Information, and so on! |
|
| HOME>>Model Gallery>>1/700 IJN CV Kaga>>This page
|
|
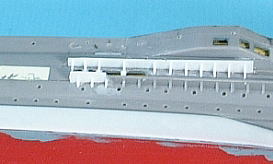
Floor part is made with 0.5 mm of plastic board, Bulwarks is made with a pole thin polyvinyl chloride board. The polyvinyl chloride board is a strong optimal material to bending.
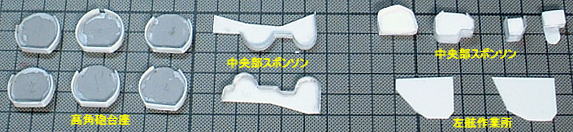
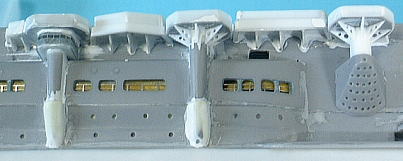
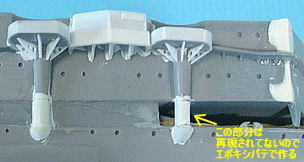
I attached the ship's side structure to the body. I established the beam of the triangle under the antiaircraft gun pedestal. I made the hole for reduction of weight to the beam.
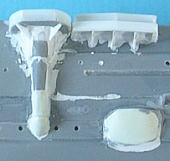
The lower part of the antiaircraft gun pedestal prop is thick. Even here modified it with epoxy putty.
As for the antiaircraft gun pedestal prop part, I modified there, because the form was wrong. But, I made with a plastic stick might have been easy.
|
|
||||||||||||||||||||||||||||||||||||||||||||||||||||||||||||||||
| Return to Top of This Page
HOME>>Model Gallery>>1/700 IJN CV Kaga>>This page |
|
Copyright(C) Omami the webmaster of J-Model Works / Mokei no Hanamichi All right reserved |