 |
 |
 |
 |
 |
 |
 |
 |
 |
 |
|
| The following Japanese famous hobby stores are written in English and can
ship to oversea! |
 |
|
  |
|
 |
|
 |
|
|
|
HASEGAWA 1/700 SCALE WATER LINE SERIES
| How to build IJN CV AKAGI |
|
 STEP 3: Modeling of Flight Deck STEP 3: Modeling of Flight Deck
 Modification the surface of flight deck Modification the surface of flight deck
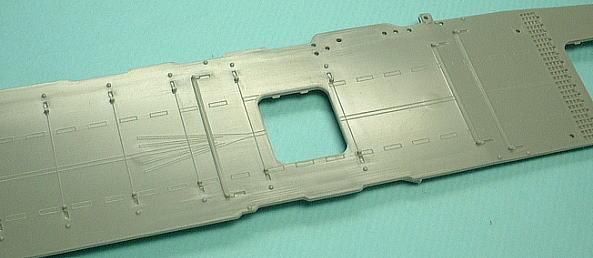
Wooden pattern is not molded to the flight deck part of this Akagi kit.
Furthermore, the surface is uneven because the metallic mold has got fatigued.
I restored the surface and replicated a wooden pattern mold.
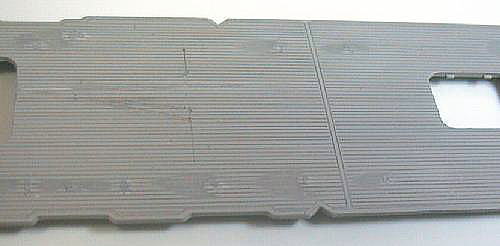
Replicate a wooden pattern mold
It flashed upon me that a good idea. I attached the screen tone which is
having the line of 1mm width printed on the flight deck, and carved the
grooves by tracing the line pattern with an art knife. Thus, the wooden
mold of equal width was finished.
Addition of Beam of the flight deck reverse side
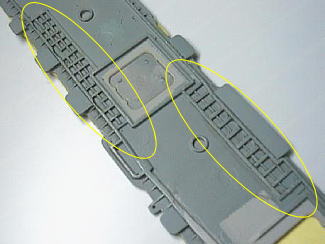 I scooped out here and there inside considerably, in order to convert a
hull. Therefore, I united and added the beam by the side of the flight
deck reverse side to it. I reproduced it from what turned off the plastic
board thinly, or the runner who lengthened. I scooped out here and there inside considerably, in order to convert a
hull. Therefore, I united and added the beam by the side of the flight
deck reverse side to it. I reproduced it from what turned off the plastic
board thinly, or the runner who lengthened.
Paint of Flight deck
It is paint of wooden deck at first. I tried the paint which impresses
wooden textures in it this time.
To the first, I sprayed the deck color on the whole deck by airbrush.
To the second, I masked one board at a time, and sprayed some colors which
are different little by little on the deck. Thus, I piled up the color
little by little.
Next, I masked tree deck and painted the surrounding iron portion in the warship color. About the sign line on a deck, I masked it and sprayed white Surfacer. The discernment sign of " " is decal. It is not attached yet now. " is decal. It is not attached yet now.
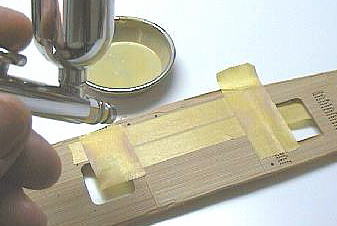
It masks one board at a time, and is spraying with airbrush.
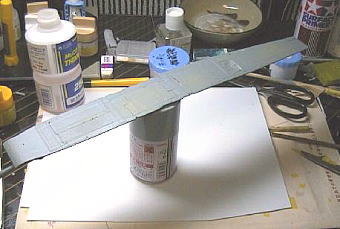
Wooden deck was masked and the warship color was sprayed.
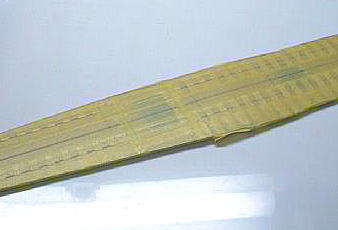
In order to put in a sign line, the flight deck was masked carefully.
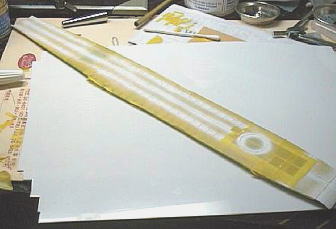
The sign lines aere sprayed by white surface primer.
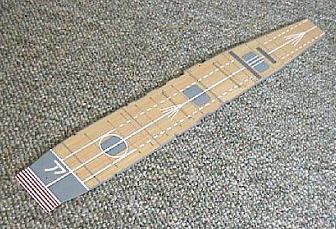
After these processes, the flight deck that had a woden gradation was finished
Addition of landing equipments
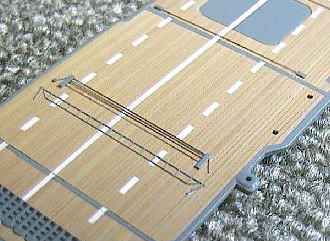
Braking wire and Crash barrier were made from the fishing line and handrail
of photoetch. The braking wire stands were made with the 0.3mm plastic
board.
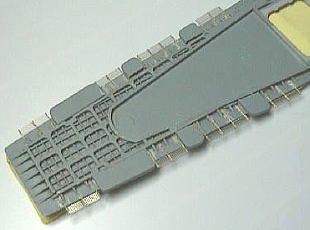
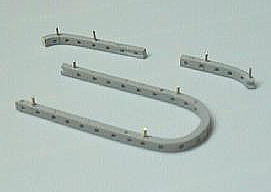
Addition of Safety nets
About how to make crew safety net, I made the frame of a net by pasting
up a 0.2mm brass line on the reverse-side side of a flight deck at equal
intervals. And I cut the photoetch mesh parts made from HASEGAWA squarely,
and pasted up there.
Next, Work of aircraft safety net, I paste up two 0.2mm brass wires on
the side and the lower part of a flight deck, and make the line construct
a bridge. And pasted up the fall prevention net photoetch for the Japan
aircraft carriers by "Gold Medal Model" on it.
 |
|
 |
| Crew rescue net |
|
Aircraft rescue net |
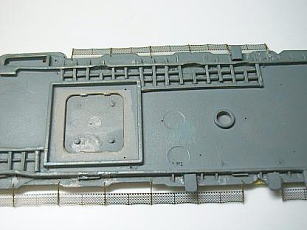
Scratch build of the crane rail
 The crane rail of a kit is different in form compared with original. I
remade it from the pile of a plastic board. However, it is too thick and
quite seems to be an exaggerated scale. But, it is the portion which does
not look almost, I made it O.K ! The crane rail of a kit is different in form compared with original. I
remade it from the pile of a plastic board. However, it is too thick and
quite seems to be an exaggerated scale. But, it is the portion which does
not look almost, I made it O.K !
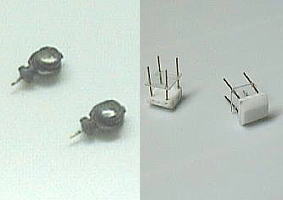
Modeling of 110cm elevator type searchlight
A hole is made in the lens portion of a searchlight and silver is painted
there. And epoxy adhesives are carefully poured there so that air may not
enter. This system can obtain the quite good feeling of quality compared
with the system which paints a silver color simply.
The elevator type searchlight hung under flight deck rear does not use
the thing of kit. It remade by the plastic board and the brass line.
 |
|
 |
| 110cm searchlights and special elevators |
|
All parts were attached |
|
|