| Welcome to J-Model Works! (Japanese Title, Mokei no Hanamichi) My Models, Step by Step, Tips, Information, and so on! |
|
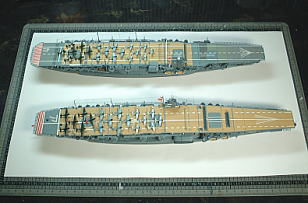
| HOME>>Model Gallery>>IJN Carrier Strike Force, Division 1>>This page
|
|
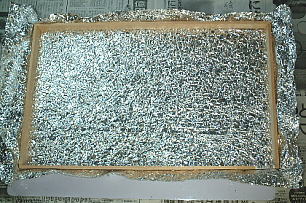
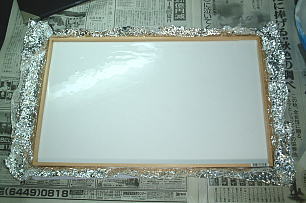
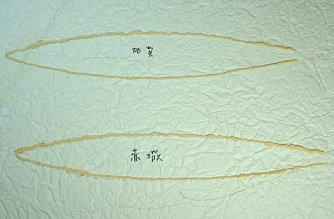
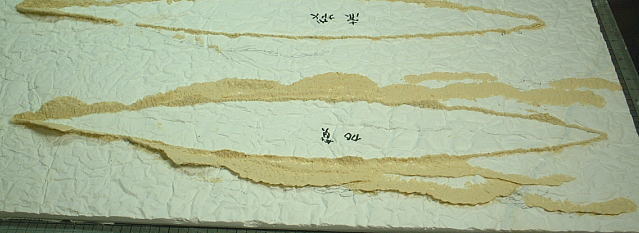
I used plaster on the formation of sea wave.
I poured plaster into the frame. Furthermore, I interwove the gauze with the inside, to increase strength.
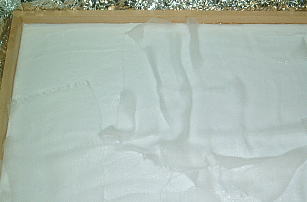
When it passes about 30 minutes, plaster hardens. I remove plaster to recently from the frame. It is necessary about 3 days to the complete hardening of plaster.
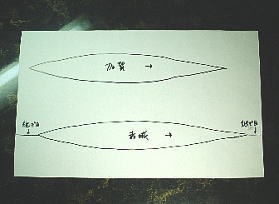
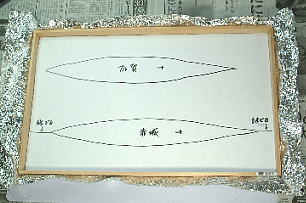
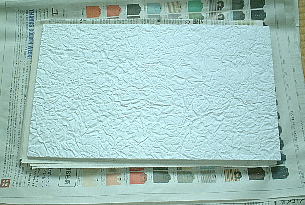
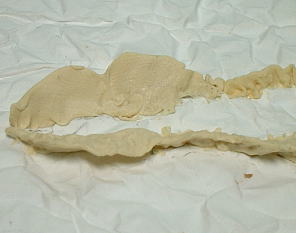
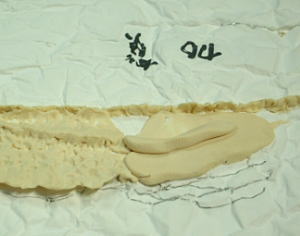
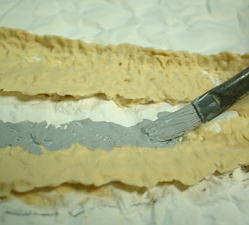
As for the white-crested waves of bow part, the top part is easy to hang with weight. First of all, I molded 2/ 3 of height in the whole. After that hardens secondly, I molded 1/ 3 of height.
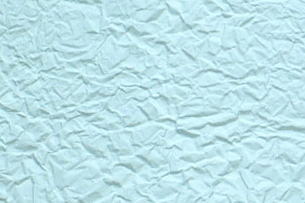
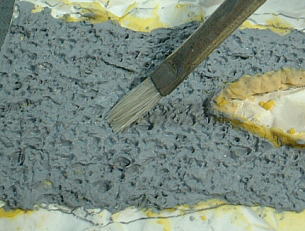
The wave that was cut with the bow is spreading to the fan shape toward the outside in the ship's side. I drew the draft of wave in the base surface and molded by putting epoxy putty on it. As for the molding of the wave this part is most. Epoxy putty becomes weak stick, when hardening begins. For the reason, epoxy putty may be good to use little by little. If we do it so, we will be able to use epoxy putty efficiently.
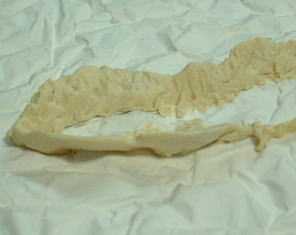
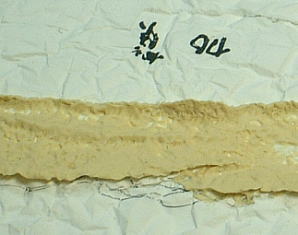
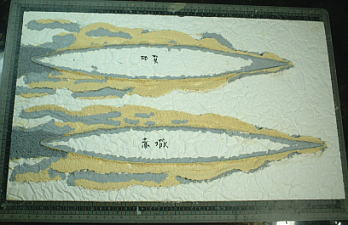
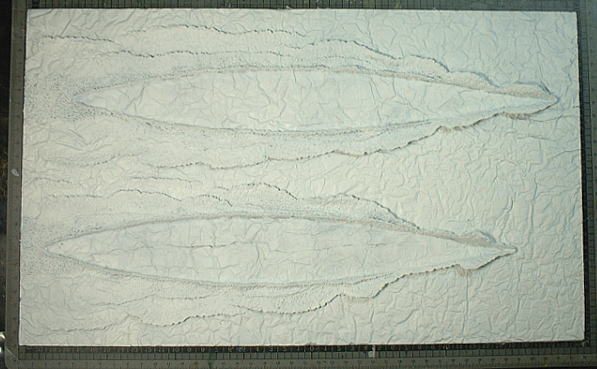
The wave of CV KAGA that was finished.
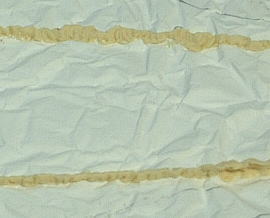
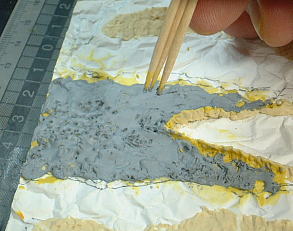
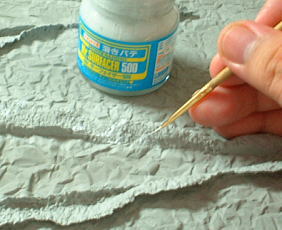
I put thinner putty to the part of stern thickly, and molded the wake by poking it with toothpicks. After thinner putty hardens, the surface becomes rough. I painted the thinner to it thinly. The wake will become a soft image by melting a little of the surface, if it does so.
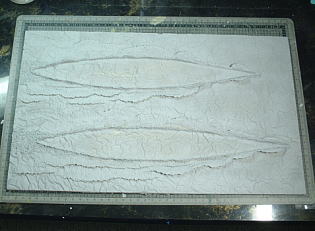
I touched up the difference in level between the wave root and base by putting Liquid putty. The liquid putty is "Mr. SURFACER 500" made of GSI Creos Co.
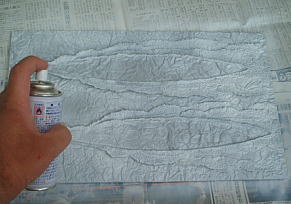
Next, I coated surface primer. Then, denting and Joint marks, fingerprints etc become easy to be confirmed. I touched up these parts furthermore minutely with liquid putty.
|
|
| Return to Top of This Page
HOME>>Model Gallery>>IJN Carrier Strike Force, Division 1>>This page |
|
Copyright(C) Omami the webmaster of J-Model Works / Mokei no Hanamichi All right reserved |