 |
 |
 |
 |
 |
 |
 |
 |
 |
 |
|
| The following Japanese famous hobby stores are written in English and can
ship to oversea! |
 |
|
  |
|
 |
|
 |
|
|
|
| Remodel the Tamiya 1/24 scale Sports Car Series, Mitsubishi GTO |
| Mitsubishi GTO (3000GT VR-4) Glass Top 1992 Making Report |
|
 Step 7: Body Step 7: Body
 Painting the Body Painting the Body
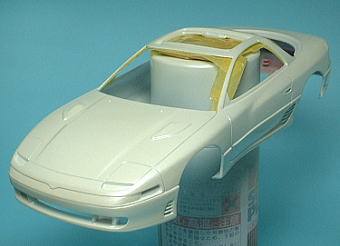
Base white color was sprayed on body. Next, pearl white color was sprayed on body.
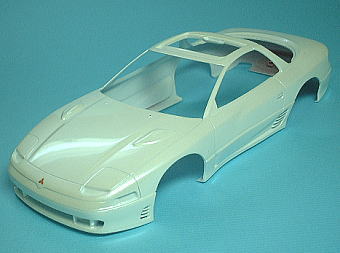
Pasted the decal and the clear color was coated on body. After drying,
the body was polished in a compound.
Shadow
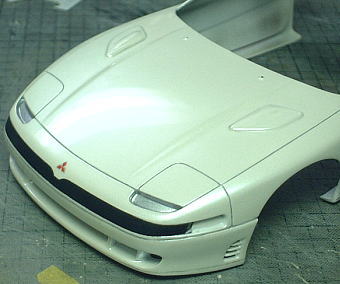
Shadow color was poured into the panel lines.
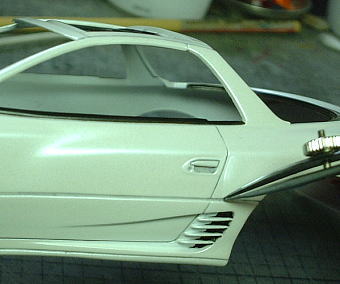
Drawing pen of draftsman's outfit was used for bold panel lines.
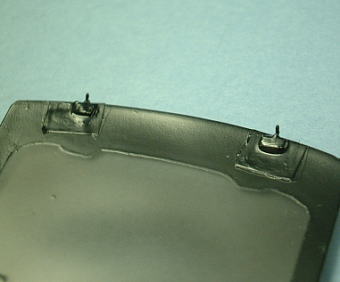
Reverse side of Body and Inner Roof
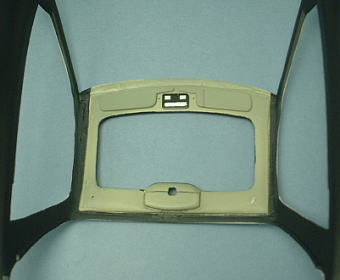
I scratch build the sun visors and room light. and were put to the inner
roof.
Sideview Mirrors
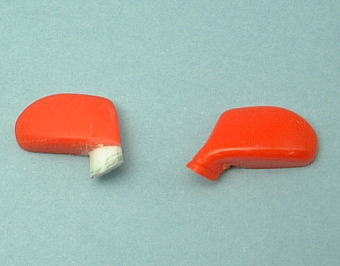
The sideview mirrors became electric swing type from 1992 version. Therefore
the pivot became thick. I remodel the pivot with a plastic rod. (left:
after remodel, Right: original)
Roof Spoiler
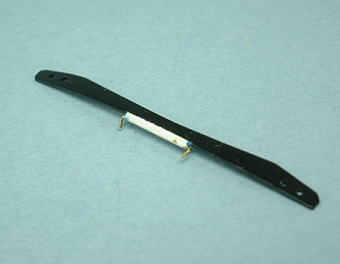
I scratch build the roof spoiler. The hinge is a brass pipe.
Roof spoiler was painted, and passed a brass line through the brass pipe as an axis.
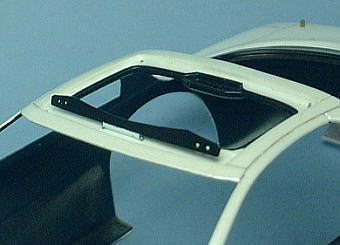
Roof spoiler was put on the roof. When the glass top was installed, roof
spoiler was down on roof.
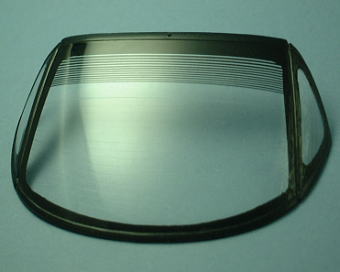
Front and side window shields Part
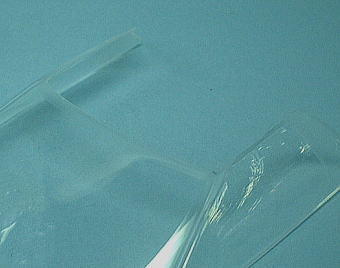
I cut off theside tab for sticking. and polished.
 Painting of the window shield was finished. Painting of the window shield was finished.
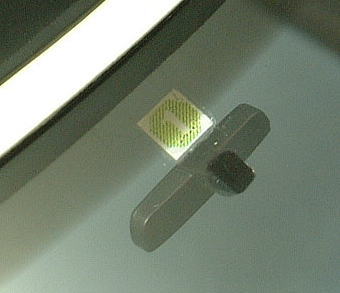
I made a car inspection sticker with PC, and print out the Alps MD printer
as the original decal.
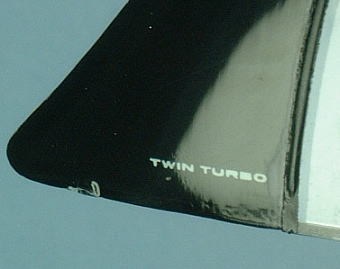
"TWIN TURBO" logo decal was pasted on dummy glass of B pilfer.
Clear color was coated on it and a difference in level of decal was flattened
by polishing.
Rear Glass hatch
I pasted the sunshade decal for the reverse side of rear glass hatch. I put a tissue paper that was soaked in hot water on it to soften the decal. Sunshade decal was coated with clear color, and polished the surface after drying. t is almost unremarkable when seeing from the right side.
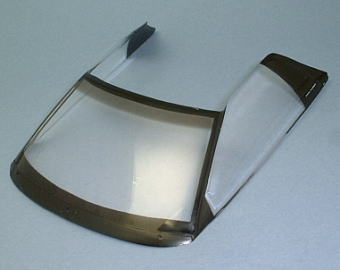
Painting the Glass Top
Glass top was sprayed in smoke color. Hooks to fix to the body were put up.
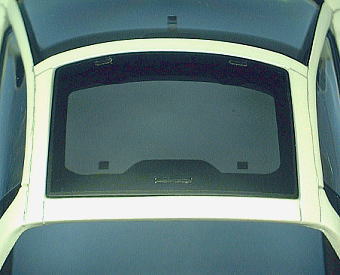 Installation test. Installation test.
|
|