 |
 |
 |
 |
 |
 |
 |
 |
 |
 |
|
| The following Japanese famous hobby stores are written in English and can
ship to oversea! |
 |
|
  |
|
 |
|
 |
|
| Fujimi 1/24 scale inch up series No.2 |
| Step by Step Report R35 NISSAN GT-R |
|
 Step 1 : Body and Interior Step 1 : Body and Interior
 Correct the Body Correct the Body
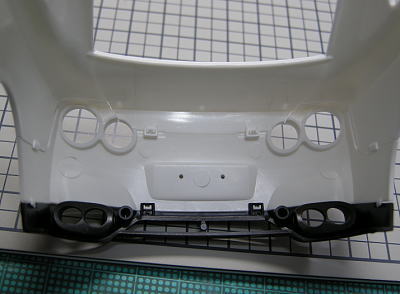
Each parts fit perfectly. They are jointed with dowels like a snap fit
kit.(Of course an adhesive is necessary.)
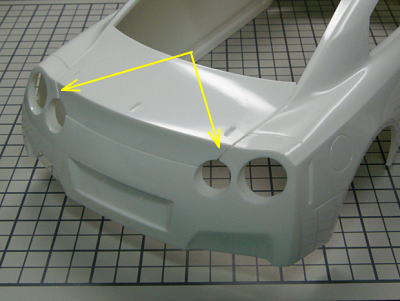
Trunk lid part have the bumps a little. I made them a uniform surface with
sandpaper.
Painting the Body
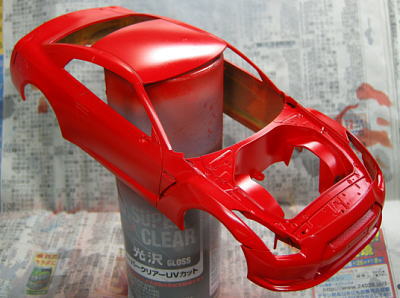
Painted the body red. The paint is GSI Creos new color GX3 Hermann Red.
Dashboard
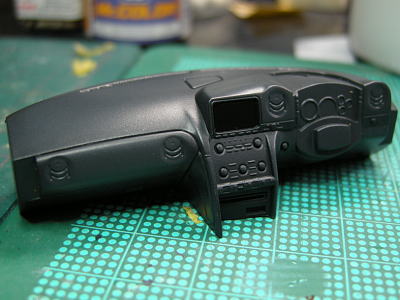
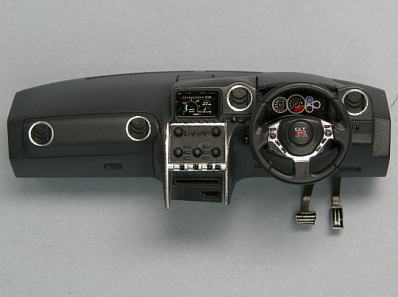
I painted the dashboard. It is appointed only one color of black in instruction.
However, I painted five colors to express a difference of the materials.
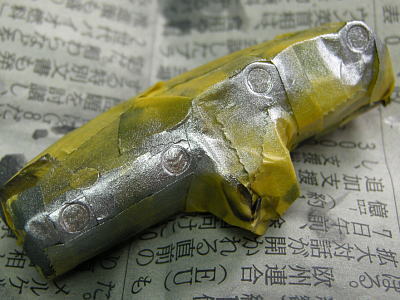
Masked and airbrushed the metal frames.
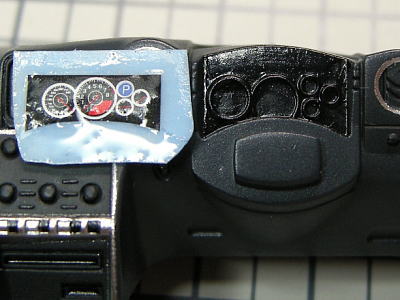
Applied the meters decal. However, the size of meters of decal do not fit
with the mold. I planed the mold with sandpaper, and applied the decal.
The multi function display is not printed on the decal of Fujimi GT-R.
I used it from the decal of Tamiya GT-R.
The dashboard. was completed.
Front Seat and Inner of Door
I reproduced the feel of suede and cloth by sandblasted the dark surface
primer with an airbrush.
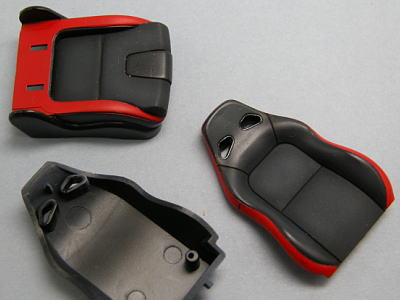
Front seats are two-tone color of the red and black. It is the special
color for GT-R black edition.
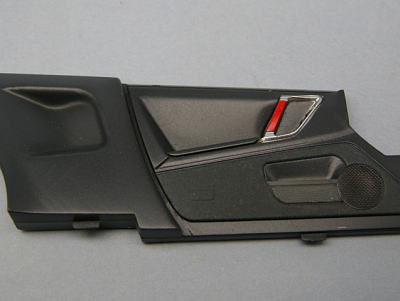
I used ten colors for the inner of door to reproduced the difference of
materials.
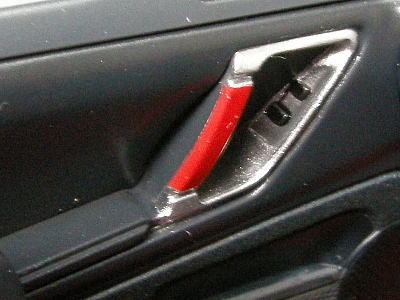
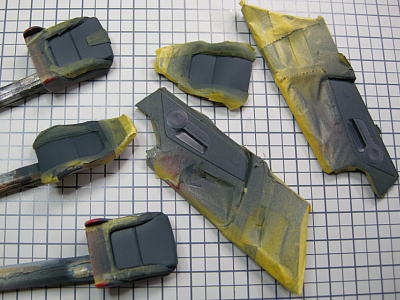
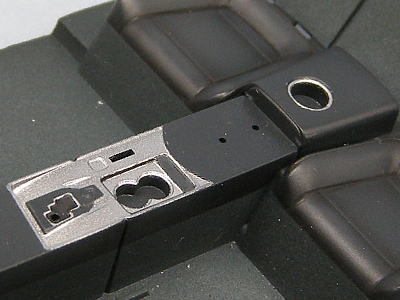
Inner door knob and switch panel.
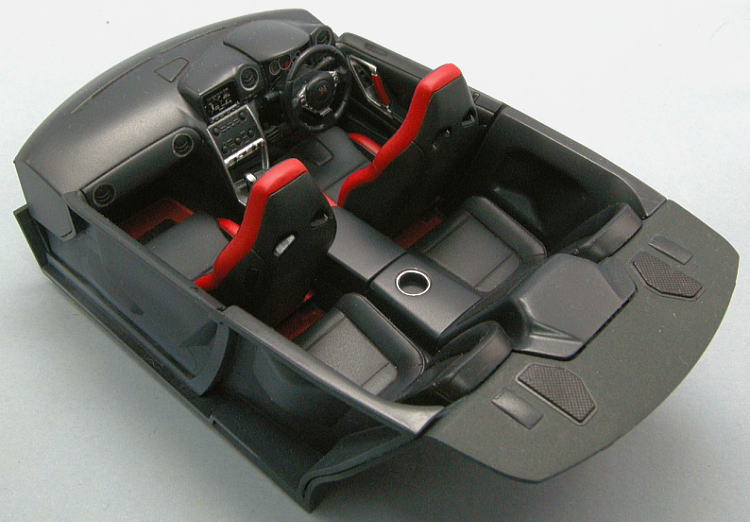
Rear Seat and Floor Panel
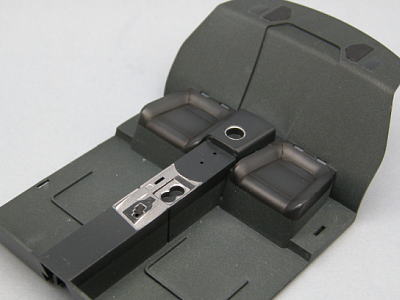
Replicated the feel of floor panel by sandblasted the dark surface primer
with an airbrush.
Masked and airbrushed the metal plate and frames of transmission tunnel.
Floor Carpet

Replicated the floor carpets of sandpaper. They are special equipment for
GT-R.
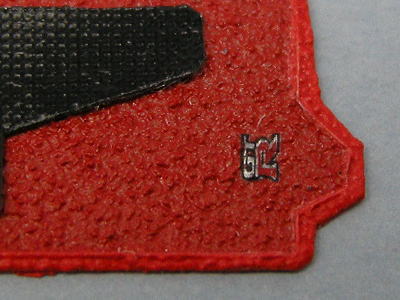
Replicated the GT-R emblem on the carpet too.
Interior was completed
|
|